- Build Archetype: Heavy Tank / Reflective Damage
- Primary Stats: Strength (26) and Faith (36)
- Core Gear: Falstead’s Fury (Sword) and Falstead’s Barricade (Tower Shield)
- Signature Mechanic: Thorns enchantment for passive damage reflection
- Level Cap: Optimized for the current Level 30 ceiling
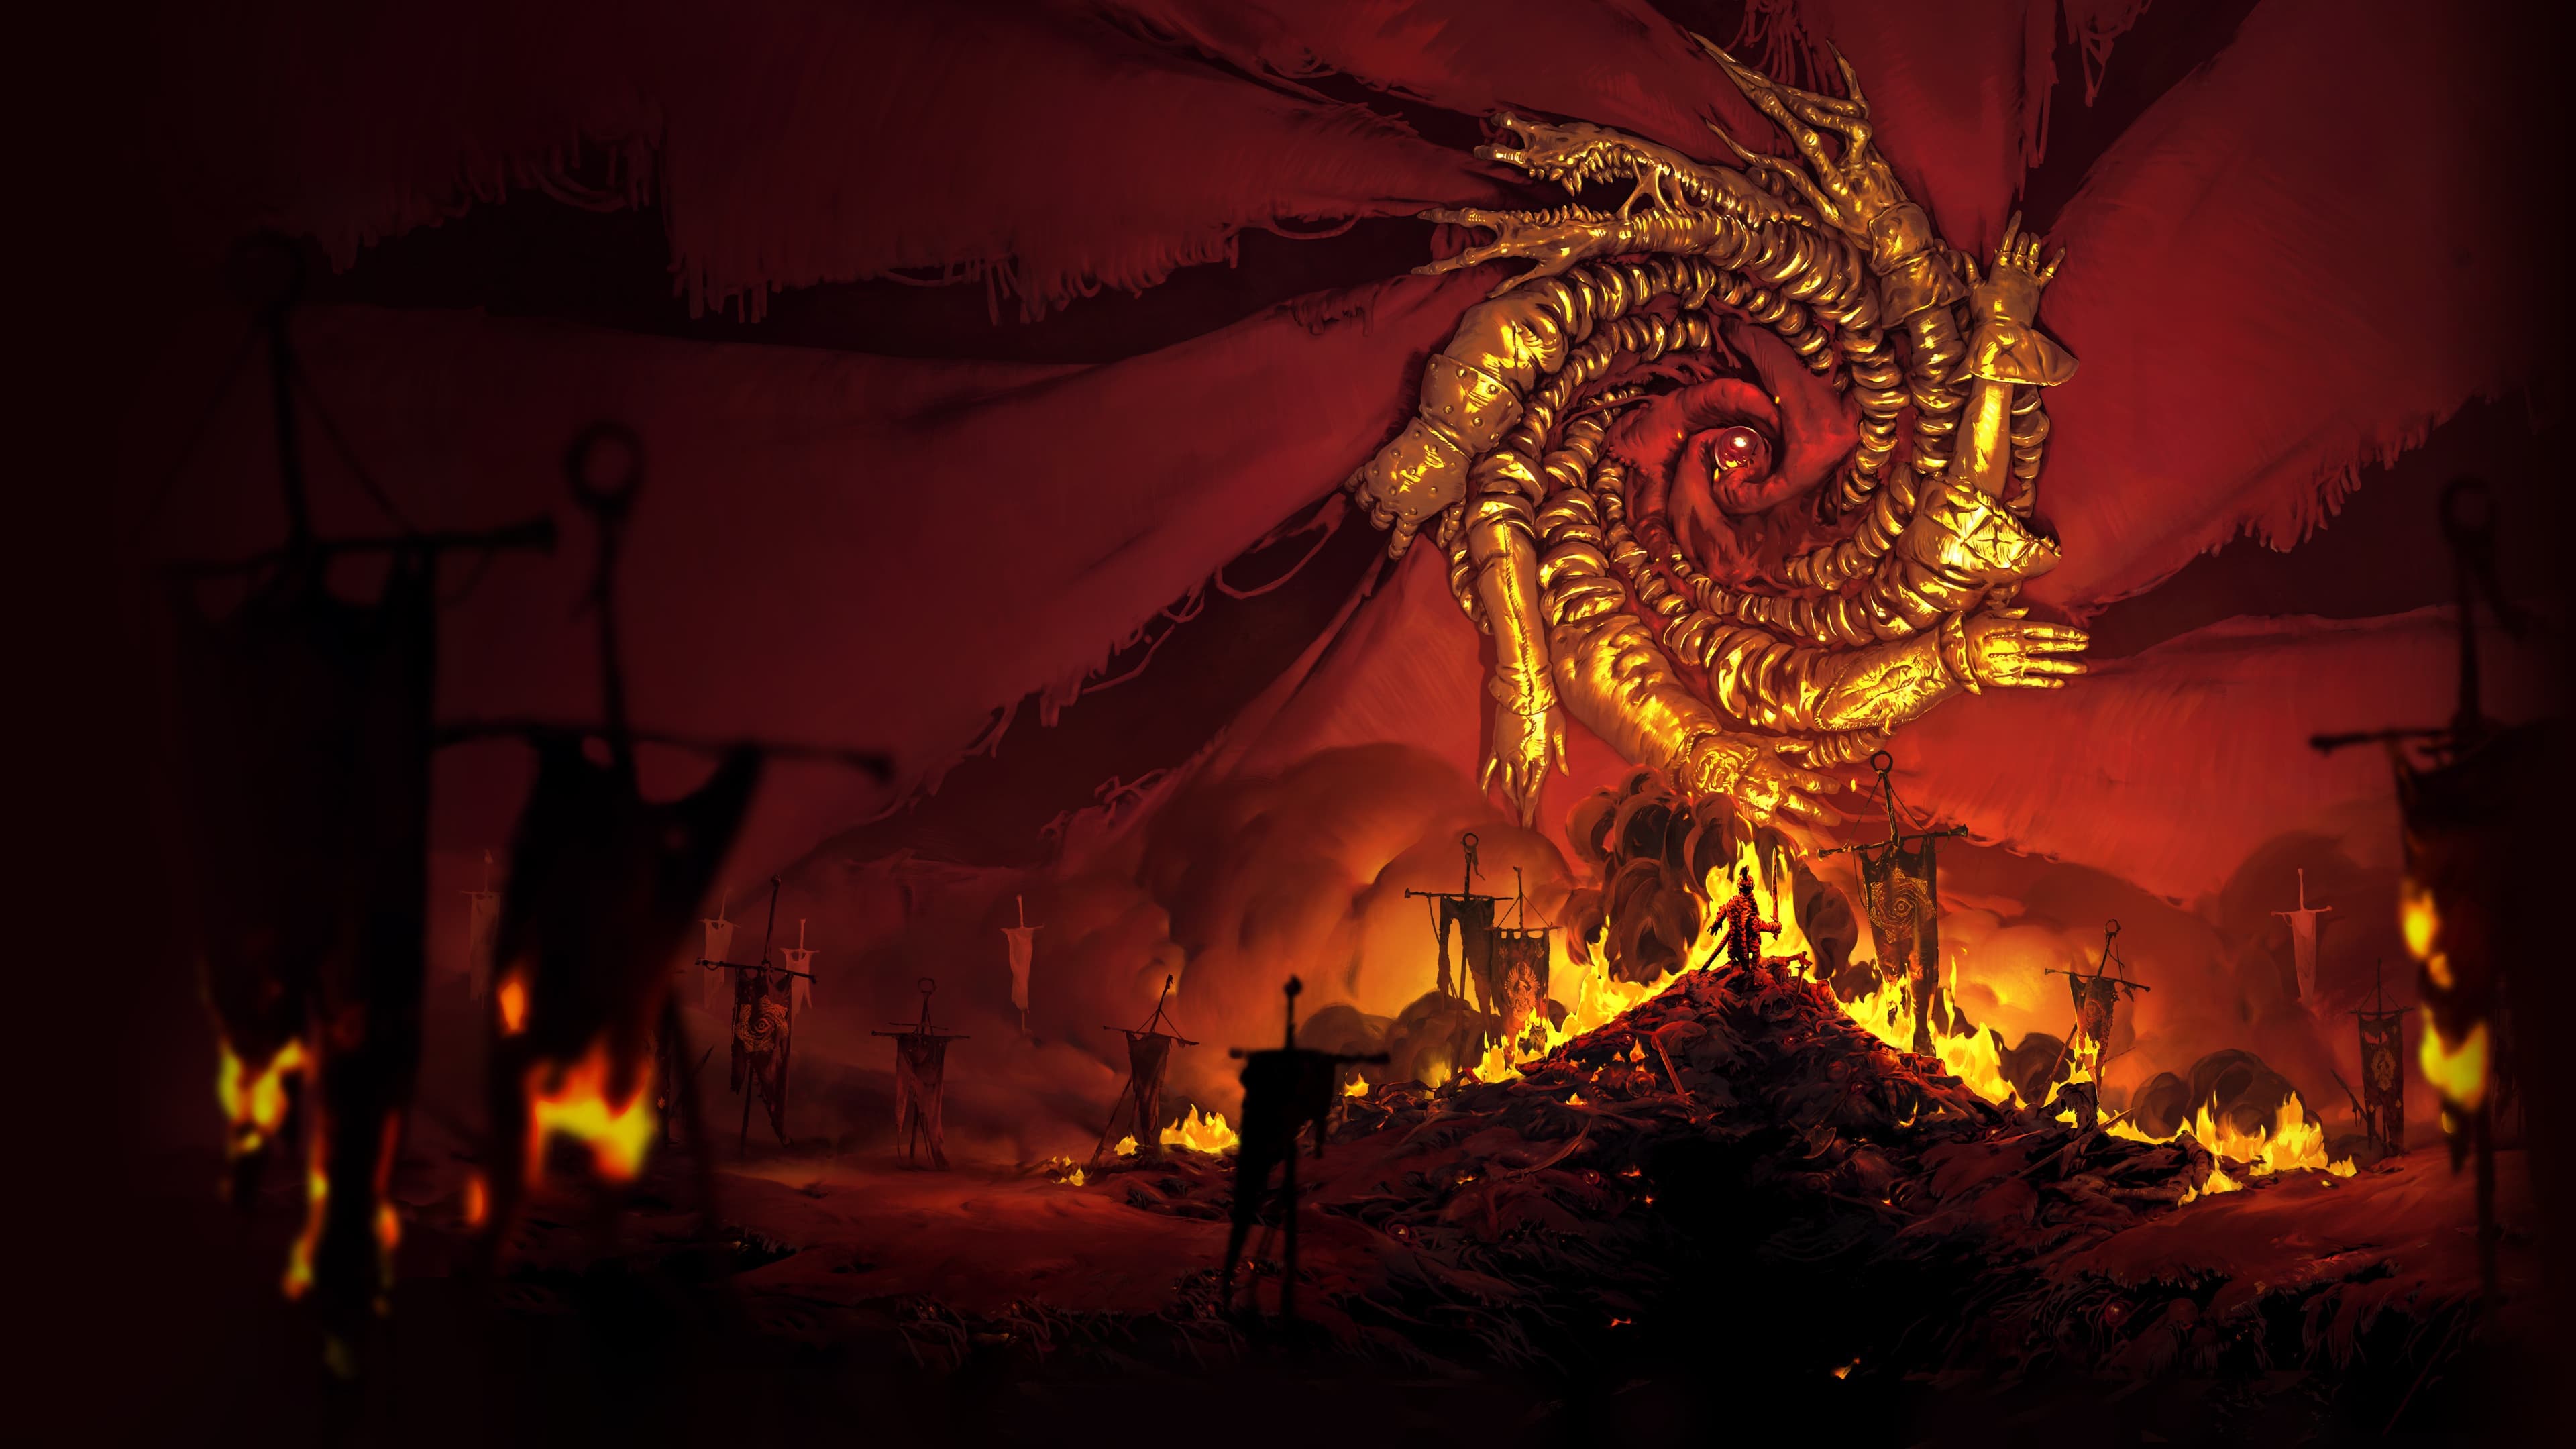
Punishing Aggression: The Wall of Thorns Meta
In the current state of No Rest for the Wicked, most players are obsessing over dodge rolls and i-frames. We think that’s a missed opportunity. Thanks to the game’s deep enchantment system, there is a much more satisfying way to play: making the enemy regret every swing they take. The "Wall of Thorns" build is a high-Poise, heavy-armor setup that turns your defensive stance into an offensive powerhouse.
The logic here is simple—if you’re going to get hit in a Soulslike, you might as well make the boss pay for it. By stacking the Thorns enchantment with specific unique gear, you aren't just surviving; you’re melting health bars by standing still.
Attribute Distribution (Level 30)
To pilot this build effectively, you need to hit specific stat breakpoints to wield the best-in-slot unique gear while maintaining enough bulk to trade hits. Here is how we recommend spending your points:
Recommended Stats
- Health: 25 (Crucial for surviving trades)
- Stamina: 25 (Essential for sustained blocking)
- Strength: 26 (Requirement for Falstead gear)
- Faith: 36 (Primary scaling for the build's utility)
- Equip Load: 25 (Necessary to avoid being completely immobile in heavy plate)
- Dex/Int/Focus: 10 (Base level; ignore these for this setup)
Our take? Don't be intimidated by the "Heavy" equip load. You aren't here to dance around the arena. You’re here to be the immovable object.
The Loadout: Falstead’s Essentials
This build lives and dies by two specific unique items. Without these, you’re just a slow target. With them, you’re a fortress.
Falstead’s Fury (One-Handed Sword)
This isn't just a stat stick. It boosts your max health by 19% and grants a massive 28% damage buff when you’re at full health. Because we’re aiming for a "perfect block" loop, you’ll spend more time at full HP than you’d think. It also punishes parries with a 21% damage proc, making it versatile if you decide to time your defenses rather than just turtle.
Falstead’s Barricade (Tower Shield)
This is the MVP of the build. It is Indestructible, meaning you never have to worry about your defense crumbling mid-boss fight. It deals 24% damage on block and restores 9% focus per block. When you layer the Thorns enchantment on top of this, enemies essentially kill themselves by hitting your shield.
Pro Tip: We highly recommend slapping a Lifesteal infusion on both the sword and shield. This allows you to claw back any chip damage immediately, keeping that "Full Health" damage buff from Falstead’s Fury active as often as possible.
Armor Enchantments and Jewelry
Since the goal is to get hit, your armor needs to be top-tier heavy plate. We’re looking for specific rolls here to min-max the reflection damage. Prioritize these enchantments:
- Gain X% Thorns: The bread and butter of the build.
- Poise Defense Increased: To ensure you don't get staggered out of your counter-attacks.
- Physical Damage Increased: To beef up your sword swings.
- Regainable Health: Helps with the lifesteal loop.
For your ring slots, use the Feather Ring to manage that heavy equip load, the Stone Tusk Ring for raw armor mitigation, and the Solace Ring to boost your health recovery. We also prefer a Lightning infusion on the weapon—it adds a layer of crowd control by chaining damage between enemies, which is a game-changer during Pestilence outbreaks.
How to Pilot the Wall of Thorns
The playstyle is refreshingly simple but requires a "hold your ground" mentality. You want to keep your shield up, bait the enemy into a combo, and let the Thorns and shield procs do the heavy lifting. Once the enemy finishes their string, follow up with your own attacks to proc lifesteal and reset your health bar.
This build is incredibly forgiving. It allows for a reckless playstyle that would get a "glass cannon" build sent back to the whisper in seconds. If you're tired of sweating over every dodge-roll timing, it’s time to put on the plate and let the enemies break themselves against you.